
Wi-Fi Extender Wavlink WL-WN578B2 AERIAL D3Q Setup
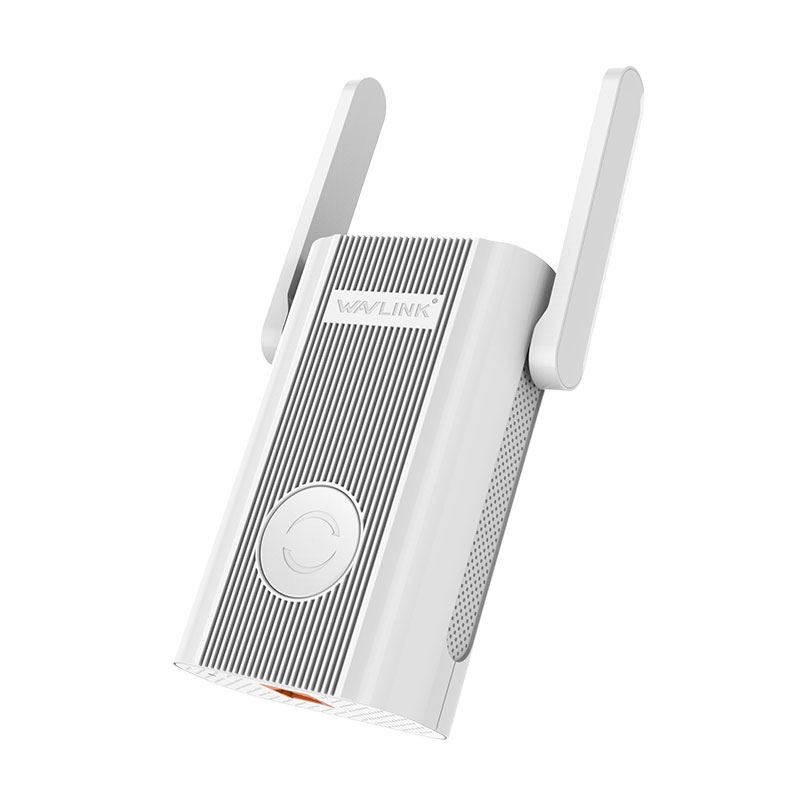
Wavlink offers a wide range of portable repeaters with distinct features.Wavlink Aerial X Extender Setup Aerial D3Q AC750. is one such terrific wireless repeater. For smooth HD streaming and lag-free gaming, the new Triple antenna is equipped with Aerial D3Q. Aerial WL-WN578B2 D3Q also has dual-band capability providing not only regular 2.4 GHz but also faster 5 GHz future-proof capabilities.
The Wavlink Aerial AC750 also offers a WPS connection for faster setup and connection. Just a router fitted with WPS is what you need. For non-WPS-Equipped routers, D3Q also comes with an online-based configuration procedure. The Web-UI is so seamless and simplified, making it easy for anyone to use.In order to properly identify these Wavlink AC-750 signal also has a Smart signal indicator, which also enables the repeater to be placed in the right location. In the triple model, WL-WN578B2 is equipped with Router Mode, Access Point Mode, and Repeater Mode. Wavlink backs up this visually stunning Extender with a guarantee.
Setup of Wavlink WL-WN578B2 Extender
In two respects, Wavlink WN578B2 comes with the setup phase. One via WPS and one via Online Web-UI. Setting up with WPS is the recommended choice for those routers that come with WPS technology, but those that do not have WPS-equipped routers are the preferred option. way to communicate with an online browser. We may now configure a WPS link.
- Unbox and power your Wavlink AC-750 via the power outlet.
- Control your WPS equipped router as well.
- Turn the Extender and Router ON.
- Place your Extender in the router’s range. (For Simplified Connection)
- Find the WPS switch in the Extender and router.
- Click the router’s WPS button.
- Click the WPS button easily on your Extender as well.
- Please wait for a few seconds to complete your connection setup.
- Extender LED lights will be available as soon as your connection is effective.
- With faster pace, enjoy your expanded Wi-Fi as well.
Setup of Wavlink WL-WN578B2 D3Q web browser
We’re going through the WPS-based setup in the previous segment, now we can go through the Online-based setup. For online-based links, you need a Web browser like Google Chrome or Mozilla Firefox. You will also need a Wi-Fi capable computer.
- Wait for the WN578B2’s LED control lights to settle before plugging it in.
- Set your repeater’s button to repeater mode.
- Please wait a few seconds for the LED to lock.
- Take a computer or a notepad.
- In the Wi-Fi list, check for Wavlink.
- After a decent link, open a browser.
- Wifi.wavlink.com or 192.168.10.1 or ap.setup URLs are entered.
- Type admin as the login password if you ask.
- Follow the instructions on-screen.
- Your Expanded Wi-Fi Network now uses your link configuration.
Config Wavlink D3Q AC-750 As Connection Point
It is possible to use Wavlink WL-WN578B2 as a router, repeater and point of entry.. We can now go as an Android via the Wavlink Extender setup.. An extra Ethernet cable is used with this link, which is widely available on the market.Any online web browser, such as Google Chrome or Mozilla Firefox, is also needed. We will now go into the set-up.
- Control your Extender Wireless.
- Your Router Strength.
- With an Ethernet cable, connect your Router and Wavlink D3Q Extender.
- Move the Extender to the Point of Entry.
- Check a Wi-Fi network on a laptop or tablet.
- Link to the Wavlink Wi-Fi Network from the network.
- Access any browser on the Internet.
- Enter https://wifi.wavlink.com or 192.168.10.1 or ap.setup URLs.
- Login as an admin for the user.
- Open the Wizard Configuration Web Page.
- Please click Access Point and wait.
- You can now use your Wavlink Extender effectively as an Entry Point or AP.
Wavlink AERIAL AC-750 D3Q Firmware Configuration Upgrade
There may be enhanced security updates and protection features against numerous worms and performance enhancements and bug fixes if you update the system. Updating the system is fine. The producer must press one for updates. Wavlink is fantastic at regularly pushing notifications. You must use Web-UI for firmware updates. Any computer connected to Wi-Fi and an online web browser like Google Chrome or Mozilla Firefox is required.URLs are described in the process segment.
- A web browser on the Wavlink Linked computer.
- Join the Menu Settings.
- Please now go through the option “Online check”..
- The result segment will inform you whether or not an upgrade to your model is available.
- When an upgrade happens, download the firmware.
- Unzip and copy the contents to the page choice from the paste here.
Please get the firmware uploaded and wait a few minutes.
After a few more minutes, the Extender will be rebooted with the new system.
Ap Setup