
Rockspace Range Extender Setup
Rockspace Range Extender Setup: Have you recently purchased a new Rockspace Wireless Range Extender? Have you tried the Rockspace Range Extender Setup manually? Still have concerns about how to set up Rockspace’s wi-fi range extenders?
Here you can find the best wi-fi extender configuration guide. There is no need for an installation CD with the Rockspace Local Extender Setup. Only scroll down and follow the Rockspace wi-fi extender setup’s step-by-step instructions.
First understand, then Rockspace Range Extender Setup:
Let’s take a look at some of the wifi extender’s basic features and how they function. These features can also be found in the wireless Rockspace extender manual.
Important tip: The features of the wi-fi extender, the Latest Extender Setup, can differ depending on the model. The basic features of a Rockspace Range Extender Setup have been considered.
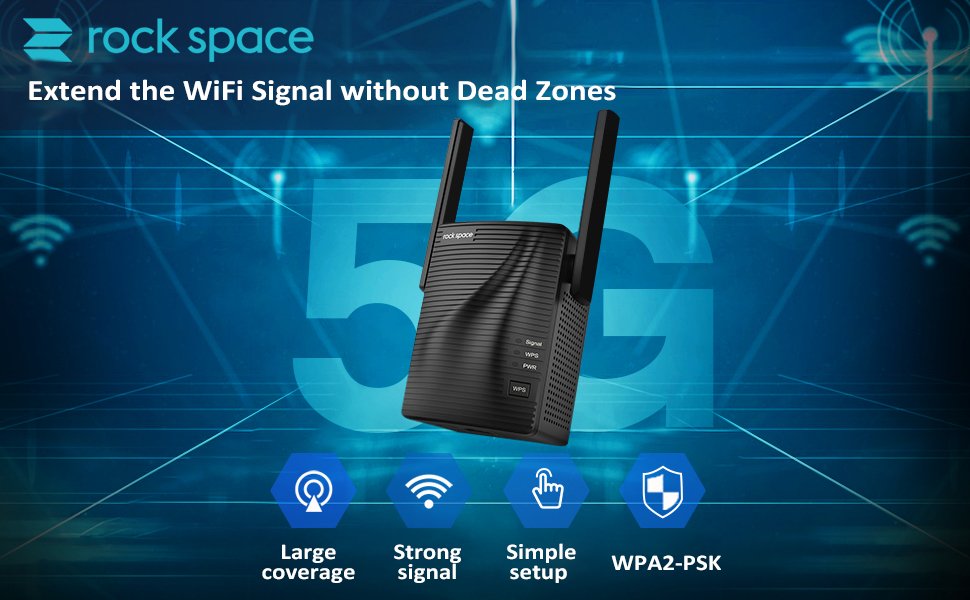
- The wireless range extenders are designed to support 802.11ac wi-fi technology and have a speed of 1.2Gbps.
- A high-power 700mW amplifier with a dual-core processor for the ultimate wireless network extension.
- Enjoy the lag-free gaming experience and feel the wireless network atmosphere in every corner of your home with the ultimate 802.11ac pace.
- The smart LED lights on the wifi range extender assist you in determining the best place for the best wi-fi coverage system.
Methods for setting up a Rackspace Range Extender Setup
There are two expert-guided techniques to set up wifi range extenders, which are:
- Protected Wireless Setup Process, or WPS Method; and
- Method for Manual Setup Extender (also known as Ethernet cable)
Important point: Both of these strategies are very efficient and simple. But also, it is also useful to take experts’ advice during the setup of the wifi extender. Before you begin the setup process, make sure your Rockspace Range Extender Setup firmware is up to date.
Method #1: Rockspace Range Extender Setup Via wps
If you’re using an older wifi range extender, what do you do? Then, you need to reset it, first of all. Push the reset button with a clip or a pointed object made with a paper screw.
- At home, consider putting your extender near your router.
- Link your wireless Rockspace Range Extender Setup to an electrical outlet. Make sure your wifi range extender is provided the correct power supply.
- Wait a few minutes before clicking the WPS button.
- Do not unplug it until the extender’s WPS LED becomes solid green.
- After this, unplug it and put it in a new spot. Make sure your wi-fi range extender is located halfway between your home router’s signals and the network’s dead spots.
- Now, try to connect your device or laptop to the extended network to test the live internet connection.
- If, at any point, you face any difficulty? Then, get in touch without any hesitation with our experts. To give you the best service for a wi-fi extender, we are here 24/7.
Form # 2: Ethernet Cable Rockspace Range Extender Setup
- At home, consider putting your extender near your router.
- Using a CAT5 Ethernet cable to connect your wifi range extender to the router.
- Plug the device into the router with another Ethernet cable.
- Link your wireless range extender and router to an electrical outlet. Make sure your wifi range extender is provided the correct power supply.
- Run any web browser on your machine and visit re.rockspace.local OR AP.Setup login page. If you haven’t visited the extender’s login page, try using the extender’s default IP address.
- You’ll land on the Rockspace Range Extender Setup admin panel’s home page.
- Click the ‘Sign Up’ or ‘Check In’ button after entering the default Rockspace wi-fi extender login credentials.
- You’ll be taken to a page that explains how to set up a wi-fi range extender.
- Choose the ‘extender’ option to continue the setup process.
- Now, obey the on-screen directions.
- When done, click on the ‘Save’ button to add the final modifications.
- After this, unplug it and put it in a new spot. Make sure that you put your wifi range extender halfway between your home wifi router’s network signals and the dead network locations.
- Now, try to connect your device or laptop to the extended network to test the live internet connection.
- That’s it! You’re done here, hopefully. If there is still some uncertainty about how to set up an extension of the wifi range, somehow? So, you know, we’re still here to call your attention.
tplink repeater